July 2017
Advancing the art and understanding of fine woodworking!
Charity Toy Project Completion at July Guild Meeting
By Gary Fader
On June 22, 10 members of the Woodworkers Guild met at Woodcraft from 2:00 - 8:00 pm to cut out parts for 50 wooden trucks and nearly 50 tray puzzles for donation to children hospitalized at Scottish Rite. In attendance were John Champion, Gary Fader, Brian Milam, John Jones, Ron Hardin, Art Sanders, Marty Prystupa, Nick Zicchino, Tom Melcher, and Kevin May. It’s amazing how much 10 people can accomplish in a few hours!
Pine boards for the trucks were donated by Home Depot and plywood sheets for the puzzles were donated by Suwanee Lumber, thanks to Jim Milam and Tom Melcher, respectively. Woodcraft generously donated their classroom, access to various saw machines, and scroll saw blades.
At the July regular Guild meeting, we plan to finish cutting puzzles and assemble all the toys.
Please bring your own hand and small clamps to help glue-up the toys, and either yellow or white glue.
We look forward to completion of this project at the July Guild meeting.
Hope to see you at WoodCraft - Roswell on July 10th at 6:30 PM.
And, Don't Forget Show 'N Tell.
Doc Reveals Mystery of Building Fortune Chair #1
By: Roger Moister
Guild member Dr. Andy Wilkerson came up from LaGrange for the June
12th meeting to explain how he built Michael Fortune's Chair #1. The chair has walnut legs and arms, maple curved slats for its back and a black leather seat. It's modern looking, as shown, and sits very well with good “bottom” comfort. Andy built the chair at the Marc Adams School of Woodworking under Fortune's instruction in a class starting in Fall 2016, making 2 trips to the school near Indianapolis to complete it.
Since Chair #1 is curvaceous, Andy began his presentation by talking about shaping wood. He described the common methods as band sawing using a pattern, then smoothing with rasps and sanding, or using a router; laminating thin strips using a form in the glue up; kerf bending by making multiple saw cuts 90 degrees to the length leaving a small edge which bends; and boiling wood as a variation of steam bending as used for shaker boxes.
He also described the two methods used for the chair: Hot pipe bending, where damp wood is gently flexed and rubbed back and forth around a pipe heated with a torch and then clamped to a form, as used for the back slats of Chair #1, and also steam bending as he used for the legs and arms of Chair #1.
To steam bend wood, Andy explained you need air dried wood -- that is, wood dried by outside air; 1 year per 1 inch of thickness. The wood can start out 14-20% moisture content, but it needs to go down to 8% after it dries post bending. The best woods to steam bend are walnut, oak, cherry, and maple. Avoid exotic woods for steam bending, laminating thin strips instead. For bending the legs and arms for Chair #1, air dried wood was steamed for about 2 hours. The billet was then secured in a stout strap device with stops at each end. The steamed billet was then bent against a previously constructed form, clamped, and allowed to
cool for a few minutes. The bent billet was then transferred to a duplicate form, clamped to it and allowed to dry for 10 to 20 days. Once removed, a pattern was placed on the bent billet, traced and band sawed to shape. Refining the shape was then done with rasps, files, scrapers and sandpaper. (The straps and stops for bending are available from Lee Valley) Mortises can be added to the bent form by using a Fortune jig as described in #197 Fine Woodworking 74-75 (2008). The chair was glued up with G2 epoxy because it has a 1 hour open time and fills voids if necessary, and allowed to dry overnight.
On bending wood, Andy explained wood does not stretch; it compresses. In bending a billet a block is placed at each end and pressure applied to move the axis of the billet from its center line in the billet to the convex side while held under pressure and bound by a strap to keep that side of the billet from breaking. When bent, the convex side remains the same length as it was when straight while the concave side compresses and actually gets shorter.
In addition to his chair, Andy also illustrated the results of bending wood with his beautiful set of shaker boxes.
Andy also described upholstering Chair #1, which involves 8 materials. It starts with a quarter inch Baltic birch plywood seat cut to fit the chair. The plywood has narrow slots cut in it to help it flex to make the seat cover tight and to let air escape when sat on. Over the plywood seat is a quarter inch of high density styrene foam. Then another piece of the same foam cut as a strip goes around the seat perimeter with its edge cut to a 45 degree miter to enable packing medium density urethane foam next to it. This was followed by a layer of low density urethane foam and then cotton muslin stretched tight. Andy covered his seat with leather and will put dark polyester on the seat bottom to achieve a finished look. Loctite spray adhesive #200 or #300 was used to hold the layers of foam together.
Andy showed us a Fortune jig to flex the seat while stapling on the leather so when releasing the jig, the flex of the plywood was maintained by the tautness of the muslin and outer covering of leather to keep the seat tight. Additionally, 2 short bolts in the front and back of the seat help maintain the flex of the plywood while secured to the chair. (Leather is available at Tandy Leather, and most other materials can be purchased from Joanne's or Walmart, according to Andy.) He referenced a Fortune article at #163 Fine Woodworking 54-58 (2003) on the upholstery process.
The finish on Chair #1 was Watco oil applied with a plastic pad, then sanded 180-220 followed by a soaking coat of boiled linseed oil which was wiped off. He followed this with 3 coats of polyurethane thinned 25-50% with mineral spirits and sanding 320-400 between coats.
All of this left us admiring Andy's Chair # 1 and his hard work to make it, thinking maybe we might enroll in a Marc Adams class to build one ourselves.
President’s Corner
John Nielsen, WWG of GA President
(still)
Summer has arrived! School’s out! Spend more time with kids and grandkids! Fireworks! Family cook-outs! Watermelon! Home-made ice cream! ……….Woodworking!
Woodworking? Of course! Our sponsors are still offering great demos and classes all summer long. Sales flyers every week from our sponsors include at least one “can’t live without it” item or special pricing. There are pre-cut kits and plans available to make something simple with the kids that only take a morning or afternoon to complete (give Mom a break and create some memories). Roger probably has a DVD or CD in the library that will inspire you to explore new horizons. Best of all, you can drag half your project outdoors and minimize your concerns with fumes and dust collection hazards.
There’s always the “To Do List” you’ve procrastinated on too long and the weather is finally perfect to begin chipping away at it. But only if it’s not too hot, or too cold, or too damp, or too humid, or too late, or too early, or ……
Keep making sawdust !
Turner’s Group – New Location
We’ve moved from the Sandy Springs Rockler to the new Rockler in Kennesaw. Nothing else has changed. Still the 3rd Monday each month from 6:30 – 8:00. Still have Show ‘n Tell. Still looking to see you there!
Last month we shared the upcoming need for several new candidates for the 2018 Board of Directors. That need still exists, with one exception – Treasurer.
Art Sanders has stepped up to fill the Treasurer position in preparation for the 2018 Board. He will work with Joe Rodriguez for good turnover and transition into the position, possibly even taking over early. Please let Art know you appreciate him taking on this very important role.
Please recognize that the Guild is your Guild and you do play a role in its ongoing success. For the sake of brevity, the Board positions are listed in the newsletter and none of them involve a tremendous time commitment. Most are only for one year and you’d be perfect at one of them, so please talk with one of the current Board members to see which one is right for you.
Contact Gary Fader, Joe Rodriguez, Art Sanders or John Nielsen if you want to attend the August 7th Board meeting. That way we can make sure we have enough chairs set up, give you a chance to meet everyone, and allow you to get a better idea what role best suits you.
“Come on. Try it, you might like it!”
Show 'N Tell
Show 'N Tell will again be enjoyed at the July 10th Guild Meeting at Woodcraft in Roswell.
Following is a recap, with photos, of the projects that were shared with attendees at the June Meeting.
Excellent work, Gentlemen !
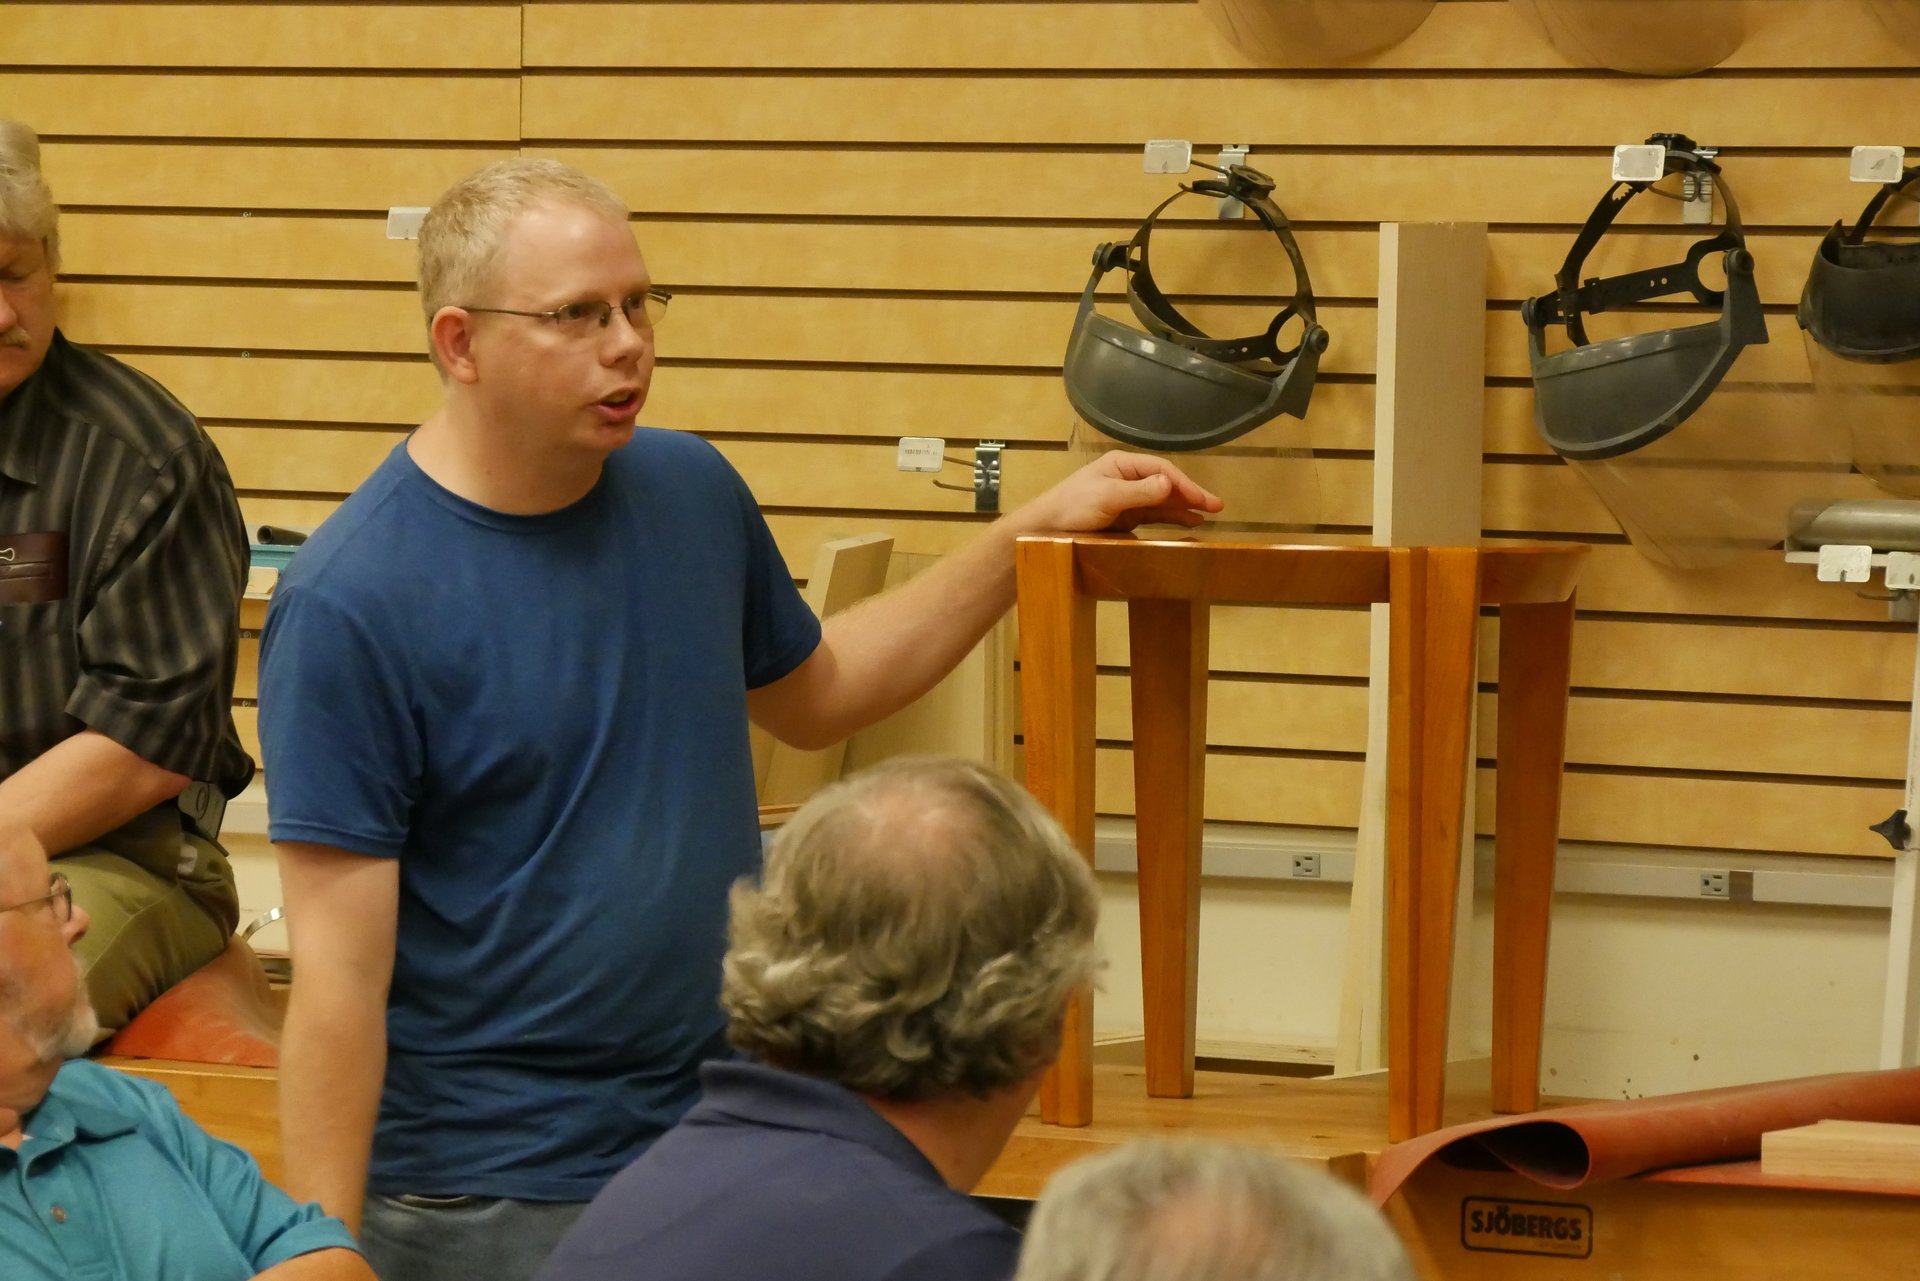
Kenneth Reisman - Cherry Occasional Table
Gary Fjeld - Thermal-treated Ash Clock w/ CNC Face
Jim Milam - Wooden Gate Hinges and Centering Jig
Bring a project you would like to share at our July 10th Meeting.

Turners' Group
The 3rd Monday Turners' Group at Rockler continues every month, but beginning in July
(the 17th) will be meeting at Rockler's Kennesaw location, located at 425 Barrett Pkwy.
If you own a Lathe, if you turn, or if you simply have an interest in turning – no matter your skill level – please feel free to join us at 6:30 on the 3rd Monday
at Rockler in Kennesaw !
Woodworkers’ Guild of Georgia
Upcoming Events
Monday, July 10
Woodcraft - Roswell 6:30 PM
Toy Making for Charity Project Completion
Monday, July 17
Rockler - Kennesaw 6:30 PM
Turners' Group
Monday, August 14
Woodcraft - Roswell 6:30 PM
Box-Making Joints
Jim Milam - Coordinator
Monday, August 21
Rockler - Kennesaw 6:30 PM
Turners' Group
Monday, September 11
Woodcraft - Roswell 6:30 PM
Cutting, Clamping, Gluing, and Finishing Small Projects
Ted Baldwin
Free Demonstrations
Rockler 6690 Roswell Road / Sandy Springs
&
425 Ernest Barrett Pkwy / Kennesaw
July 8: 11:00 Finishing with Rockler HVLP Sprayer
July 15: 11:00 Porter Cable Restorer Portable Drum Sander
July 22: 11:00 Fun with Wood Turning
July 29: 11:00 Router Table Techniques
Woodcraft 8560 Holcomb Bridge Road / Roswell
July 8: 1:00 Sharpening Chisels & Plane Irons
July 15: 1:00 Table Saw Safety w/ Grr-Ripper
July 22: 1:00 Prepping for Finish
July 29: 1:00 Festool
Aug. 5: 1:00 Fixing Surface Imperfections
Wanted:
Someone to craft a Router-Lettered Sign (9 letters).
Contact Jennifer Brooks for information.
404-915-1391
The Guild Board of Directors
John Nielsen, President 770-434-3812
Joe Rodriquez, Treasurer 224-659-2225
Community/Charitable Projects Open
Nick Zicchino, Woodworking Show 2017 770-237-2280
Tom Melcher, Patron Sponsors 770-851-1098
Nuane Neely, Spring Symposium 2017 770-922-1933
Tom Risoli, Website Administrator 678-513-0887
Programs
Open
Gary Fader, Vice-President, Secretary 770-977-7271
Jim Milam, Member at Large 404-255-2314
Roger Moister, Librarian 404-355-5033
Kevin May, Membership 404-735-9807
Ken Gregg, Scholarships 678-799-6157
Mark Haugland, Newsletter 678-294-8043
Jim Wright, Audio Visual/Member at Large 770-973-4692
John Jones, Communications
678-576-7265
Gary Fader, Program Committee Chairman 770-977-7271
Support Your Woodworkers’ Guild of Georgia Patron Sponsors
Proof of Guild membership is required by
Patron Sponsors
that offer discounts. Your membership card can be printed from our Guild website. Login and go to Guild Info > Members Only, and click on Membership Card. If you would like to pick up your membership card at the next Guild meeting, email us
with your member name.
Fintech Abrasives - For over 25 years, Fintech Technologies has been fabricating belts, sheets, rolls and other abrasives. They also have extensive experience with the application of the newest materials in coated abrasives. Family owned and operated in Belding, MI, Fintech is a highly respected company that takes pride in its excellent product quality, unmatched customer service, and superior technical support. Guild members are welcome to order products, as well as contact them with questions. Call them at 1-888-223-8768. Website
Hardwoods Incorporated
- A division of Atlanta Hardwood Corporation, Hardwoods Inc. has grown to become one of the largest hardwood distributors in the Eastern United States. Hardwoods Inc. stocks more than 100 species of domestic and exotic lumber, plywood, Arborite laminates and turning stock. When you think of wood, think of us. Open 8 a.m. - 5 p.m. Monday through Friday and 8 a.m. – 12 p.m. Saturday. Guild members receive 10% OFF qualifying purchases.
Located at 5400 Riverview Road, Mableton, 30126. 404.792.0910 Website
Highland Woodworking - Providing fine woodworking tools and project supplies since 1978, Highland defines itself as a learning community. The store has attracted nationally known teachers and authors including Tage Frid, Sam Maloof, Michael Dunbar, Rude Osolnik, Toshio Odate, Dale Nish, Mark Duginske and many others in Highland’s ongoing program of seminars and workshops. We have some great woodworking class opportunities coming up at Highland Woodworking! We have classes and seminars every week that include basic sharpening techniques, turning, finishing, project builds, and much more! Click to see our class schedule.
Their catalog of fine woodworking tools and workshops is available online, or visit its fully-stocked store at 1045 N. Highland Avenue in Atlanta, 30306. 404-872-4466. Website
Peach State Lumber Products - We are dealers of high grade/cabinet quality hardwoods, plywood, softwood, veneer and also carry a full line of cabinet grade plywood and turning blocks. We welcome small quantity orders and have a retail sales area open to the public. We also carry Hettich brand hinges and drawer slides. We have hardware screws and pocket hole screws. We now have live edge slabs in multiple species, great for bar tops, mantels, etc. Show your Guild membership card to receive their 500 b.f. price on any qualifying purchase.
Located at 4000 Moon Station Road, Kennesaw, 30144. 770-428-3622. Website
Peachtree Woodworking Supply -
Peachtree is a producer and retailer of high quality woodworking products with a goal of providing the woodworker with the hard to find tools and accessories. They stock over 6,000 different woodworking items. Those items include a wide selection of abrasives, books, DVD’s, clamps, router bits, glue, t-track, dust collection, and much more. Peachtree also carries the major brands. The store is located at 6684 Jimmy Carter Blvd., Suite 100, Norcross, GA 30071, 770-458-5539. Store Hours: Mon – Fri 9 am.- 5 p.m., Sat 9 am - 3 pm. Website
Redmond Machinery - Specializes in new and used woodworking and metal working machinery in a 25,000 square foot showroom. We stock machinery, accessories, and supplies from top-name manufacturers. Bargain hunters, check out our large inventory of used and scratch and dent machinery and accessories. We are a source for older American made Powermatic and Delta parts. We invite Guild members to stop by to visit us. We are located at 58 Weldon Rd., Palmetto, GA 30268, 770-683-7297 or 800-428-9898 Website
Rockler Woodworking and Hardware
- (Two Locations) - Rockler began as a mail order woodworking supply company and today the retail chain stretches across the United States. Our magazine, Woodworker’s Journal, is dedicated to offering plans, techniques, product reviews and tips to woodworkers. Our goal is to be your go-to woodworking resource. Please mention you are a Guild members BEFORE your purchase to receive 10% OFF everyday (normal exclusions apply).
We invite you to visit us at 6690 Roswell Road in Sandy Springs 404-460-1000, OR 425 Ernest W. Barrett Pkwy in Kennesaw 678-383-0087. Hours are Monday-Friday 9 am to 7 pm, Saturday 9 am to 6 pm, and Sunday 11 am to 4 pm. On Saturdays we have free demos. Website
Suwanee Lumber Company – Is a specialty hardwood supplier for custom cabinet and furniture makers as well as the general public. Suwanee features hardwood lumber with matching plywood and other materials to make every project a work of art. Please show your Guild membership card when shopping to receive Level 4 pricing (1,000 b.f. pricing).
Their location is 450 Highway 23 in Suwanee, GA 30024, 770-945-2102. We're moving to a bigger and better location soon! Website
Woodcraft - (Two Locations) – Has been a woodworker's favorite source for quality hand and power tools, equipment and supplies (including wood). Cabinet makers, wood turners, carvers and woodworkers in general rely on our friendly, experienced staff that is always available to help with the selection of tools and supplies as well as provide helpful advice on individual projects. We have fully equipped classroom facilities. Guild members receive 10% OFF qualifying purchases during our monthly Guild meeting or Symposiums at the Alpharetta store.
Stop by our store at 8560 Holcomb Bridge Road in Alpharetta, GA 30022, 770-587-3372 OR our West side Store at 351 Thornton Road in Lithia Springs. GA 30122, 770-485-5636. Website
The Woodworkers' Guild of Georgia
Newsletter is published monthly, and is provided to all Guild members.
The Newsletter, and its archived copies, is posted on our website.
It is also available 24/7 on our Newsletter URL wwgga.tlehs.com
If you are interested in contributing an article or placing an ad, please contact Mark at [email protected]
The Guild welcomes everyone interested in fine woodworking to join. Annual membership dues are $45.00,
which can be paid at the monthly meeting (2nd Mondays) or mailed to:
Woodworkers' Guild of Georgia / P.O. Box 80750 / Atlanta, GA 30366
You may also pay dues using PayPal at wwgofga.com
Enjoy Your Newsletter. We welcome your feedback below.